Anomaly Detected chapter 4 drops agents into The Hospital, the toughest ward on the rotation before the Mall finale. Camera clutter, identical corridors, and patient movement patterns turn every shift into a true test of memory and reaction time, which is exactly why anomaly detected chapter 4 tips are worth studying before you boot up the next run. This guide breaks down every ward anomaly, the camera order that keeps the corridor scans clean, and the prep steps that carry you into The Hospital with full confidence.
The Hospital is the fourth of five chapters in the Roblox surveillance horror experience developed by BanuTheCat under the X Core Studios banner, and it sits squarely in the middle of the difficulty curve. The ward demands more from agents than the House, Streets, or School before it because every camera frames near-identical patient rooms, and a single missed anomaly can tank your streak before you reach the final hallway. Below is the full breakdown of what to expect and how to clear it cleanly.
The Hospital Chapter Layout and Camera Order
The Hospital is structured as a central nurses' station ringed by six monitor feeds, each covering a distinct ward: Reception, ER Triage, Pediatrics, ICU, Radiology, and the locked Morgue corridor. Every anomaly detected chapter 4 anomalies run spawns in a fixed rotational pattern, and the camera order is the single biggest factor in clearing the ward without losing your streak.
Camera Bank Breakdown
| Camera # | Ward | Common Anomalies | Threat Level |
|---|---|---|---|
| 1 | Reception | Moved chairs, new signage, changed wallpaper | Low |
| 2 | ER Triage | Stretcher rotations, bloodstain placement, missing gurney | Medium |
| 3 | Pediatrics | Toy positions, drawing changes, bedsheet swaps | Medium |
| 4 | ICU | IV bag swaps, monitor readouts, extra patients | High |
| 5 | Radiology | X-ray frame contents, lightbox position, technician presence | High |
| 6 | Morgue | Body bag count, drawer position, ceiling light flicker | High |
The recommended scan order is Reception → ER Triage → Pediatrics → ICU → Radiology → Morgue, because it mirrors the agent's mental map of the ward and matches the spawn rhythm reported by veteran players. According to community data gathered from the Anomaly Detected Discord and Reddit threads, agents who deviate from this order and start with the ICU feed first see a noticeably higher miss rate, because the ICU anomalies are deliberately subtle.
Why Camera Order Matters
Every camera feed in The Hospital looks visually similar at a glance, which means the agent's brain is fighting against a wash of repeating wall colors, fluorescent lights, and patient silhouettes. By scanning in a consistent loop, you build a short-term memory anchor that lets you spot movement, color changes, and added objects faster than if you hopped between feeds. The shift officially begins after a brief setup phase, and the camera control defaults to Shift / L2 / Double Tap with headphones recommended, so audio cues from ward equipment can be just as informative as the visual feed.
The Complete Anomaly Detected Chapter 4 Anomalies List
Knowing every anomaly in The Hospital is half the battle, because the ward's design philosophy is that almost every change is a quiet one. The list below combines the official anomaly counts with the patterns reported by community testing, and it forms the foundation of the anomaly detected chapter 4 tips in the rest of this article.
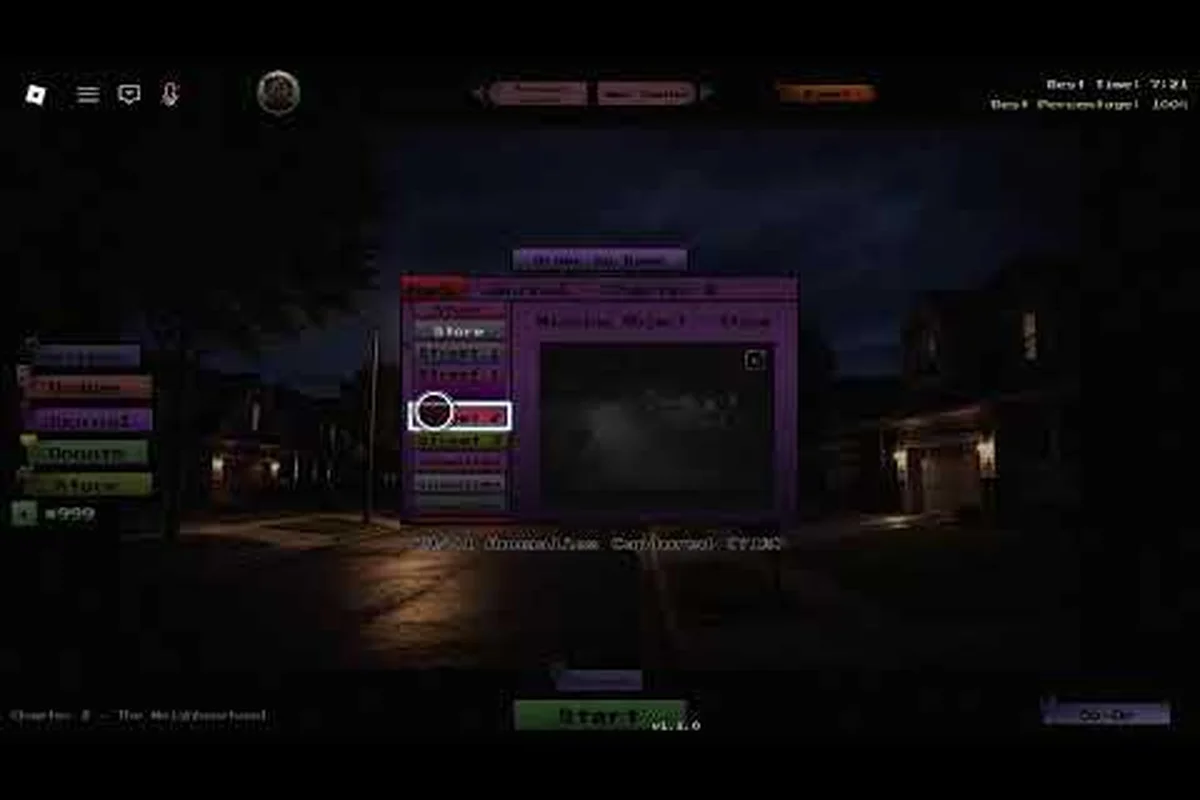
According to a detailed walkthrough of Chapter 4, the anomaly detection mechanics follow a strict three-strike rule, where players must closely monitor environmental cues such as flickering lights and distorted audio patterns, as explained in Anomaly Detected (Roblox) (Alex Spire) video guide.
Reception and ER Triage Anomalies
| Ward | Anomaly | Detection Cue |
|---|---|---|
| Reception | Reception desk chair moved | Compare to baseline wheelchair position |
| Reception | New poster on the back wall | Watch the left-most wall during scan |
| Reception | Reception computer screen text | Look for added diagnostic lines |
| ER Triage | Stretcher rotated 180° | Stretcher head points the wrong way |
| ER Triage | Bloodstain on the floor | New brown smear near the second pillar |
| ER Triage | Missing gurney | One of three gurneys vanishes from the bay |
| ER Triage | New crash cart | Extra red cart near the wall |
The Reception ward acts as a warm-up, so most of the early anomalies here are also seen in the anomaly detected chapter 1 anomalies and anomaly detected chapter 2 anomalies lists. They are simple object swaps that a careful agent can clear in under 30 seconds per camera, which gives you a small buffer for the harder wards later in the loop.
Pediatrics and ICU Anomalies
| Ward | Anomaly | Detection Cue |
|---|---|---|
| Pediatrics | Stuffed bear moved | Bear relocated to a different bed |
| Pediatrics | Crayon drawing changed | New doodle replaces the previous sketch |
| Pediatrics | Bedsheet color swapped | White sheet becomes blue or pink |
| ICU | IV bag color changed | Clear fluid becomes red, blue, or green |
| ICU | Heart monitor readout altered | Flatline replaced with active wave |
| ICU | Extra patient on the bed | Second silhouette under the sheet |
| ICU | Ventilator removed or added | Equipment rack switches state |
The Pediatrics ward is where agents first start making costly mistakes, because the room is intentionally cluttered with colorful objects that distract from the subtle swaps. ICU is the hardest of the visible wards, because the anomalies here mimic real-world patient changes, and a flatline that suddenly becomes a normal sinus rhythm is exactly the kind of thing a tired agent will mark as normal and walk past. Veterans recommend using the Pause / Inspect function after every camera rotation, because the ICU is also the most common source of false positives.
Radiology and Morgue Anomalies
| Ward | Anomaly | Detection Cue |
|---|---|---|
| Radiology | New X-ray image on the lightbox | Different skeleton pose or object outline |
| Radiology | Technician silhouette | Dark figure in the corner where none should be |
| Radiology | Lightbox frame color shift | Frame changes from black to silver |
| Morgue | Body bag count change | One drawer has an extra bag |
| Morgue | Drawer position | Top drawer is pulled out further than baseline |
| Morgue | Ceiling light flicker | One bulb pulses while the others stay steady |
| Morgue | Silhouette in the back | Tall shadow against the rear wall |
The Radiology and Morgue wards are the final two checks in the loop, and they are where the anomaly detected chapter 4 tips get sharper. The Morgue in particular has a high concentration of motion-based anomalies, so agents should always enter the camera with a fresh pair of eyes rather than carrying mental fatigue from the ICU scan directly into it. The ceiling light flicker is one of the easiest anomalies to miss because the brain interprets it as a graphics glitch, so it is worth specifically looking up at the ceiling every time the Morgue camera opens.
Camera Strategies for the Hospital Ward
The Hospital punishes agents who rely on raw reaction time, because the room geometry and lighting are designed to blend anomalies into the background. The strategies below are what experienced players use to keep their miss rate low on the harder cameras, and they pair naturally with the prep steps in the next section.
Scan Pacing and Audio Cues
A common rookie mistake is to cycle through the cameras too quickly, because the ward looks "boring" at first glance. The correct pacing is roughly 8 to 12 seconds per camera on the easier wards (Reception, ER Triage, Pediatrics) and 12 to 18 seconds on the harder ones (ICU, Radiology, Morgue). This pacing gives you enough time to compare the current frame against the baseline image stored in your mental cache, while still leaving a buffer for tricky anomalies.
Audio cues are also heavily featured in The Hospital, because the developer BanuTheCat layered ward-specific ambient tracks over the camera feeds. ICU alarms, Radiology X-ray clicks, and the quiet hum of the Morgue's refrigeration unit are all reference sounds that should be playing during a normal shift. When the audio drops or shifts unexpectedly, that is often a clue that an anomaly has been introduced, so headphones are recommended for chapter 4 above all the other chapters.
Pause and Inspect Function
The Pause / Inspect function is the single most powerful tool in your Hospital kit, and it is the difference between clearing the ward and burning your streak on a misread ICU monitor. The mechanic is simple: when you hold the inspect button, the camera feed freezes at a higher resolution and lets you pan around the room for extra details that would be missed at normal scan speed. Veterans use it on every ICU and Radiology cycle, because the subtle color shifts in those wards are almost impossible to catch in real time.
| Camera | Recommended Inspect Time | Why |
|---|---|---|
| Reception | Optional | Anomalies are large and obvious |
| ER Triage | 2-3 seconds | Bloodstain and gurney changes need a close look |
| Pediatrics | 3-4 seconds | Toy and sheet swaps are easy to overlook |
| ICU | 6-8 seconds | Most anomaly-heavy camera in the chapter |
| Radiology | 5-6 seconds | X-ray and lightbox changes require detail |
| Morgue | 4-5 seconds | Motion-based anomalies need a frozen frame |
Combining inspect time with proper pacing turns even the most difficult ward into a manageable loop, and it is the strategy that experienced agents adopt after just a few failed runs. Once you internalize the rhythm, the rest of the anomaly detected chapter 4 tips become small refinements rather than mandatory rules.
Prep Steps Before Entering The Hospital
Clearing The Hospital starts before you ever load the chapter, because the prep work you do in earlier shifts directly affects your streak insurance and mental readiness. The steps below are the same ones used by agents who have completed the chapter on Veteran Mode, and they form the bridge between the anomaly detected chapter 3 anomalies grind and the harder anomaly detected chapter 5 anomalies run that comes after. The steps below are the same ones used by agents who have completed the chapter on Veteran Mode, and they form the bridge between the anomaly detected chapter 3 anomalies grind and the harder anomaly detected chapter 5 anomalies run that comes after, so tracking the intended order ahead of time via the Anomaly Detected Chapter Release Order reference lets you line up your current Chapter 3 prep with the exact unlock requirements and reward tier of the Chapter 5 run you'll be funneling mats into.
Streak and Resource Management
Streak insurance in Anomaly Detected is tied to consecutive correct reports across a shift, so the best prep for The Hospital is to keep your streak intact through the first three chapters. That means playing it safe in the House, Streets, and School, and avoiding the temptation to chase risky reports just for the badge progress. The anomaly detected chapter 4 tips most often shared by community veterans all start with the same advice: protect the streak first, optimize later.
| Prep Step | Priority | Reasoning |
|---|---|---|
| Clear chapters 1-3 with a 10+ streak | Critical | Streak insurance carries into chapter 4 |
| Read community anomaly lists | High | Pre-load mental baseline for every ward |
| Test audio in a free-play shift | Medium | Confirm headphones are picking up ward cues |
| Clear the journal for chapter 3 first | Medium | Frees mental bandwidth for the harder ward |
| Play at low-traffic hours | Low | Reduces server lag that can hide anomalies |
Mental Baseline Practice
A separate but important prep step is to spend a few minutes in a free-play shift just looking at each Hospital camera without reporting anything, because the act of memorizing the baseline image is what gives you something to compare against during the actual run. This is the same technique that agents use for the anomaly detected chapter 5 anomalies list later on, and it is the foundation of every successful Veteran Mode clear on the Anomaly Detected Roblox title.
Anomaly Detected Chapter 4 Tips for Difficult Modes
Veteran Mode in Anomaly Detected speeds up the camera cycle, reduces the inspect window, and adds a handful of high-tier anomalies that never appear on Rookie or Normal. The Hospital on Veteran is the chapter where most agents see their streaks broken, and it is also the chapter where the anomaly detected chapter 4 tips that you have practiced finally start to pay off in badge progress and journal completion.
Veteran Mode Specific Anomalies
| Anomaly | Ward | Why It Is Hard |
|---|---|---|
| Animate patient silhouette | ICU | Moves during inspect, breaks freeze logic |
| Flickering monitor chain | ER Triage | Anomaly changes color between frames |
| Doubled body bag | Morgue | Looks like a single thicker bag |
| Reverse poster text | Reception | Easy to dismiss as a visual glitch |
| Stacked X-ray plates | Radiology | Blocks the silhouette anomaly behind it |
These Veteran-exclusive anomalies are the reason the chapter has the reputation it does, and they are also where the anomaly detected chapter 4 tips from the community become most valuable. The general advice is to always assume the worst-case reading when you are uncertain, because a correct guess on a normal anomaly preserves your streak, and a wrong report on a Veteran anomaly ends the shift immediately.
Cross-Chapter Skill Carryover
Many of the camera skills you build in The Hospital carry forward into the Mall finale, and the anomaly detected chapter 5 tips list borrows heavily from the ward strategies above. The key differences are that the Mall swaps fewer object positions and instead introduces lighting-based anomalies, so the inspect habit you build in the Hospital is the foundation that lets you adapt to the new ward design. Treating chapter 4 as a training ground for chapter 5 is the strategy that produces the cleanest end-game streaks on the Roblox title.
Frequently Asked Questions
How many anomalies are in Anomaly Detected chapter 4?
The Hospital contains roughly 24 to 28 anomalies across the six ward cameras, depending on the current patch and difficulty mode. Veteran Mode typically adds three to five extra high-tier anomalies that never appear on Rookie or Normal, so the upper end of that range is what experienced agents should plan for when chasing the full journal.
What is the easiest camera in The Hospital?
Reception is consistently the easiest camera in The Hospital, because its anomalies are large object swaps that are easy to spot even on a quick scan. The Reception desk chair, wall poster, and computer screen all move in obvious ways, which makes it the best warm-up camera at the start of the loop and the safest place to start a streak insurance run.
Do anomalies carry over from chapter 3 to chapter 4?
No, every chapter in Anomaly Detected has its own independent anomaly list, so the anomalies you memorized for the School do not appear in the Hospital. However, the baseline-reading skill and the inspect habit from chapter 3 carry over directly, and they are the most important parts of the anomaly detected chapter 4 tips that experienced players share with new agents.
What is the best strategy for the ICU camera?
The ICU is anomaly-heavy and the most common source of streaks breaking, so the best strategy is to give it the longest inspect window in your loop. Spend six to eight seconds on the ICU camera every cycle, focus on the IV bag colors and the heart monitor readout, and use the audio cues from the ward alarms as a secondary signal for when something has changed.
Should I play The Hospital in solo or co-op?
Both work, but solo play is the better training ground for Veteran Mode because it forces you to build the full mental baseline yourself. Co-op is faster on Normal difficulty because you can split the cameras with a partner, but the independent anomaly lists per chapter mean the ward strategies above are still relevant regardless of how many agents are in your shift.