Watching the right anomaly detected camera feeds in the right order is the difference between a clean shift and a permanent clock-out. This monitor layout guide breaks down the full screen arrangement, the recommended room-by-room view order, and the blind spots that quietly cost players their streaks. Every recommendation here is grounded in the actual chapter structure, the way the night-shift interface tiles the CCTV Grid, and what veteran-mode players consistently report as their scan rhythm.
Anomaly Detected drops you in front of a multi-tile security monitor for a late-night solo or co-op shift. The job is mechanical in theory and brutal in practice: every camera feed shows a room that should look a certain way, and one or two of those rooms will contain an anomaly that breaks the pattern. Spot it, report it before the timer expires, and the shift continues. Miss too many, and your shift ends for good.
This guide focuses specifically on the anomaly detected camera feeds themselves: how the monitor tiles them, which feed order reduces missed anomalies, and where the developer intentionally places blind spots. If you are still learning the basics of camera positioning, the dedicated anomaly detected camera layout breakdown covers per-camera positions in detail.
Anomaly Detected Monitor Layout: How the Grid Works
Default Tile Arrangement Per Chapter
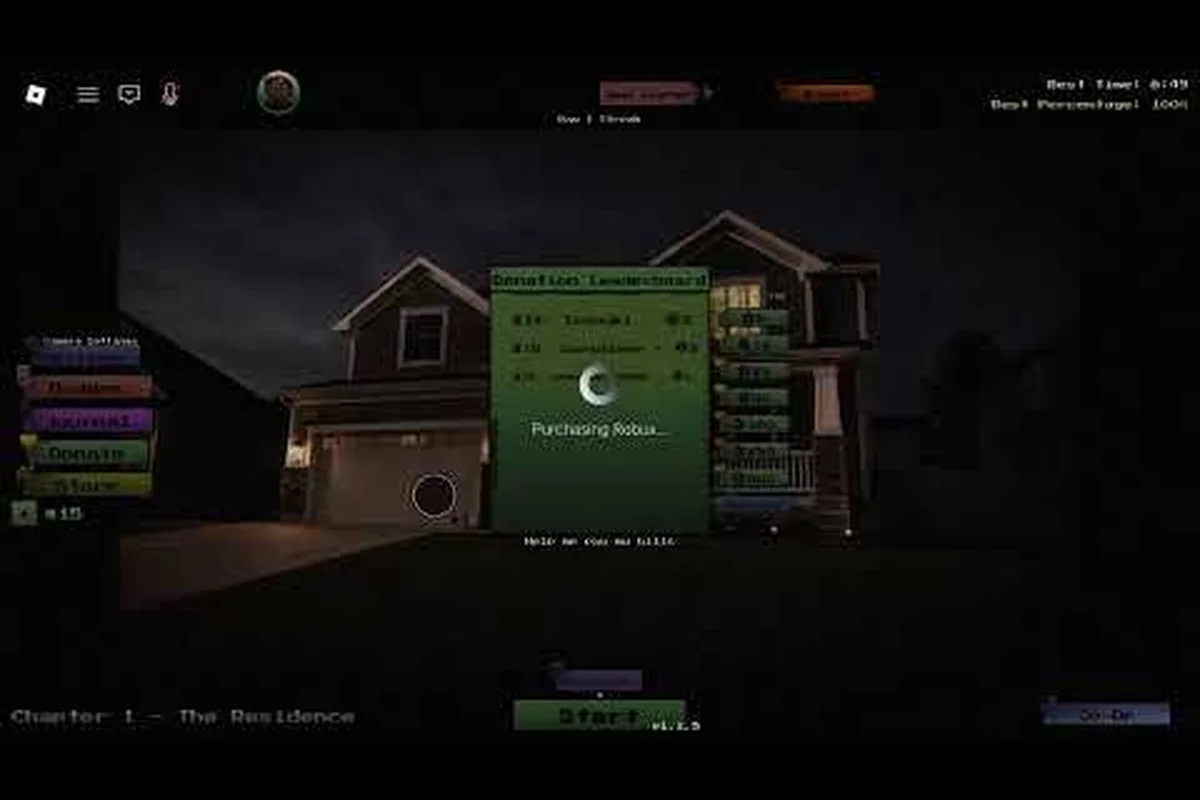
Each chapter in Anomaly Detected loads a slightly different monitor grid, but the underlying logic is consistent. The number of tiles scales with chapter complexity, and the player's role is to scan every active feed in the rotation. Below is the default layout per chapter, based on the chapter-by-chapter design reported by the developer and confirmed through community camera-feed testing.
| Chapter | Setting | Default Active Tiles | Tile Grid | Rotation Speed |
|---|---|---|---|---|
| Chapter 1 | Residential House | 4 | 2×2 | Slow |
| Chapter 2 | City Block | 6 | 3×2 | Medium |
| Chapter 3 | The School | 7 | 3×3 (1 tile disabled) | Medium |
| Chapter 4 | Hospital | 8 | 4×2 | Fast |
| Chapter 5 | Mall | 9 | 3×3 | Fast |
The anomaly detected monitor layout is not just cosmetic; it dictates the maximum simultaneous feeds your eyes need to track. Chapter 5 is the most demanding because all 9 tiles are active at once, and the rotation cycles quickly between anomaly-free and anomaly-triggered states.
Tile Behaviour and Visual Cues
Each tile has three observable states: clean (no anomaly present), armed (anomaly loaded, countdown started), and expired (timer ran out without a report). The visual transitions are subtle by design, because part of the game's tension comes from doubting whether you actually saw something change. Sound cues are intentionally minimal, so visual scanning is the primary skill.
A useful habit is to lock your gaze to a sweep pattern rather than darting randomly. Most veteran players settle on a left-to-right, top-to-bottom pattern, similar to reading a page, which keeps the scan deterministic and reduces the chance of staring at the same tile while another one mutates.
For a deeper look at how the tiles connect to individual camera placement on each map, the anomaly detected camera layout guide maps every CCTV position to its tile slot, including corridor angles, parking lot sightlines, and living room corners where anomalies most frequently spawn. Cross-referencing that layout with your sweep pattern lets you predict which tile is most likely to mutate next, so you can pre-aim instead of reacting after the countdown has already started.
Anomaly Detected Room by Room: The Recommended Scan Order
Why Order Matters
When anomaly detected camera feeds are cycling and timers are running, scanning them in a fixed order cuts the average time-to-detect. The reason is simple: anomaly spawns are not uniformly random, and certain rooms are statistically more likely to trigger in early waves. By prioritising those feeds first, you reserve your peripheral attention for the less risky tiles.
Community-reported spawn bias suggests the living room and parking lot feeds trigger more often in Chapters 1 and 2 respectively, while Chapter 3's school halls and Chapter 4's patient rooms dominate mid-to-late waves. Chapter 5 (the mall) spreads the bias more evenly, which is why the chapter is considered the hardest blind-spot exercise.
Recommended Room-by-Room Scan Order
Treat the four-feed rhythm below as a starter template, not a hard rule: new runs randomise which anomaly detected camera feed receives the first spawn, so after roughly ten shifts you should re-weigh each channel by its own early-spawn frequency rather than copying the default living room → kitchen → bedroom → parking lot ladder.
| Priority | Feed (Ch. 1 example) | Why Prioritise | Common Miss Type |
|---|---|---|---|
| 1 | Living Room | Highest early-spawn rate | Subtle object shift |
| 2 | Kitchen | High spawn rate, easy anomalies | Added utensil |
| 3 | Bedroom | Mid-spawn rate, slower rotation | Bed rearrangement |
| 4 | Front Porch / Driveway | Low spawn rate, often overlooked | Door position change |
If you want to see how specific object-level anomalies (such as the bed anomaly patterns) actually appear on the bedroom feed, the anomaly detected bed anomaly reference breaks down the moved-object family in detail.
Applying the Order to Higher Chapters
The same priority principle scales to later chapters, but the tile count grows. In Chapter 2, the parking lot feed enters the grid and immediately takes top priority because its spawn rate is noticeably higher than the indoor feeds during the first two waves. Players who treat the parking lot as a glance-and-forget tile tend to leak anomaly reports there more than anywhere else.
Chapter 3 introduces a partially-disabled tile, which paradoxically makes the anomaly detected blind spots problem worse. With 7 active tiles in a 3×3 grid, the empty slot pulls your eye, and you subconsciously avoid scanning near it. Cover that empty space with deliberate focus sweeps to compensate.
Anomaly Detected Blind Spots: Where Anomalies Hide Repeatedly
Hard Blind Spots vs Soft Blind Spots
There are two categories of blind spots in the monitor layout. Hard blind spots are areas the camera physically cannot see because of walls, pillars, or the camera's own field-of-view cone. Anomalies placed in hard blind spots are essentially impossible to detect via CCTV alone; you have to rely on indirect cues (movement in adjacent rooms, changes in lighting, etc.).
Soft blind spots are areas the camera can technically see but where the visual contrast is low. Dark corners, cluttered desks, and shadow-heavy alcoves all qualify. Anomalies placed in soft blind spots are detectable, but only if your scan pattern actually lingers there.
Mapping the Most Common Blind Spots
Across all five chapters, community reports and veteran-mode completion data consistently flag the same six blind spots as the highest miss-rate zones in anomaly detected camera feeds, and the table below breaks them down by chapter, type (Soft vs. Hard spawn), and detection difficulty so you know exactly where to look. The pattern is clear: Soft-type anomalies cluster in interior transitional spaces like the Ch. 3 stairwell landing and Ch. 4 patient bed footboard, while Hard spawns dominate exterior and back-of-house areas such as the Ch. 2 parking lot far corner and Ch. 5 mall food-court service door — meaning your monitor layout check priority should shift depending on which chapter the anomaly detected round loads.
| Blind Spot | Chapter | Type | Detection Difficulty |
|---|---|---|---|
| Behind the kitchen island | Ch. 1 | Soft | Medium |
| Far corner of the parking lot | Ch. 2 | Hard | Hard |
| Stairwell landing | Ch. 3 | Soft | Medium |
| Hallway junction | Ch. 3 | Soft | Easy (if noticed) |
| Patient bed footboard | Ch. 4 | Soft | Medium |
| Mall food-court service door | Ch. 5 | Hard | Hard |
The parking lot far corner in Chapter 2 is a particularly nasty hard blind spot because the camera's cone ends just before the anomaly spawns area. New players assume the parking lot is fully covered and rarely look twice, which is exactly when the anomaly is most likely to appear.
Reducing Blind-Spot Misses
Three habits measurably reduce blind-spot misses. First, commit to a dwell time of at least half a second per tile, even on clean ones, because anomalies can spawn mid-scan. Second, use peripheral vision for the soft blind spots where contrast is low; staring directly at a dim corner rarely helps, but a slightly defocused gaze catches subtle changes. Third, audio second-checks are useful because anomaly-triggered tiles often produce a faint ambient shift (a chair scrape, a distant footstep) that gives away the location even when the visual is ambiguous.
Anomaly Detected Where to Look: Per-Tile Scanning Strategy
The Living Room Feed in Detail
The anomaly detected living room feed is the single most-spawned tile in Chapter 1 and a recurring high-priority tile in later chapters. Its layout is deceptively simple: a sofa, a coffee table, a TV stand, and a couple of decorative objects. The simplicity is the trap, because the anomalies are designed to be subtle.
Common living room anomalies in the anomaly detected camera feeds pool cover four main detection categories that the anomaly detected living room tile rotates between: substitution swaps (a red hardcover novel replaced by a green one, or a circular clock face swapped for a square one), duplication glitches (a second identical pillow appearing on the far cushion, two matching candlesticks where the set was previously asymmetric), removals (the TV remote gone from the table, a framed photo missing from the shelf), and positional shifts measured in degrees (the rug rotated 90° clockwise, the floor lamp arm tilted 15° downward).
-
An object swapped with a near-identical substitute (a different book on the shelf, a shifted picture frame)
-
A duplicated item (two identical vases where there was one)
-
A removed item (a missing cushion, an absent remote)
-
A positional shift (the rug rotated 90°, the lamp arm angled differently)
Because the changes are small, the anomaly detected living room feed rewards slow, structured scanning rather than speed. Many top players report mentally dividing the living room into a 3×3 micro-grid anchored on the sofa, coffee table, and TV stand, then verifying each cell against the previous scan for substitution, duplication, removal, and positional-shift anomalies. A 15° lamp-arm tilt or a 90° rug rotation is far easier to catch when your eyes sweep cell-by-cell than when they pan the whole tile, which is why a grid-based routine consistently cuts verification time on this anomaly detected monitor layout without sacrificing accuracy.
The Parking Lot Feed in Detail
The anomaly detected parking lot feed, introduced in Chapter 2, is a study in hard blind spots and slow spawn cycles. The camera is mounted on a pole overlooking a small lot, and the visible area covers roughly 70% of the playable space. The remaining 30% is hidden behind the lot's perimeter wall.
Anomalies in the parking lot tend to be lower-frequency than anomalies on interior feeds, but each one carries above-average tension because of the 30% blind spot behind the perimeter wall — you may only notice a vehicle has moved or a pedestrian has appeared after re-glancing at the tile, and by that point the spawn window for catching the "approach" frame on the adjacent street feed may have already closed.
-
A new vehicle parked in an empty bay
-
A vehicle moved from one bay to another
-
A vehicle removed entirely
-
A pedestrian figure that should not be there (rare, high-tension anomaly)
Because of the hard blind spot, the parking lot demands that you also scan the adjacent street feed (when available) to catch the anomaly's "approach" movement indirectly. The anomaly detected street view reference covers the outside-area camera positions that complement the parking lot tile.
High-Risk Tiles in Later Chapters
Chapter 3's school halls and Chapter 4's patient corridors both have long sight lines, which sounds helpful but actually creates a different problem: anomalies placed far down the hall are too small to recognise in a single glance. The fix is to zoom your mental focus to the back of the hall, then sweep forward. Most players instinctively focus on the foreground, which is why far-hall anomalies have a disproportionately high miss rate.
Chapter 5's mall introduces multiple high-risk tiles simultaneously: the food court, the central atrium, and the service corridors. Without a fixed scan order, the chapter is overwhelming. The recommended order there is food court → atrium → service corridors → storefronts, because the food court and atrium have the highest spawn rates in the first half of the shift.
Anomaly Detected Camera Feeds: Practical Workflow and Co-Op Roles
Single-Player Scan Workflow
When you are running solo, the workflow is essentially a continuous loop: sweep all active tiles, identify any anomaly, click the report button on the correct tile, then resume the sweep. The challenge is that the report action briefly removes your focus from the rest of the grid, and during that gap, a new anomaly can spawn on a tile you are not watching.
A reliable solo rhythm is built around predictable dwell times and immediate reporting, because each anomaly spawns on a 2–3 second cycle and a missed report means a blind spot develops in your sweep pattern. Concrete example: if you fixate on the living room tile for two full scans, report, and immediately return to the parking lot tile you skipped, you maintain continuous grid coverage and avoid the cascade of missed anomalies that occurs when players restart from the top-left after every report.
-
Sweep all tiles once at the start of each rotation (about 2–3 seconds)
-
If a tile looks suspicious, dwell on it for one extra scan before reporting
-
Report immediately on confirmation; do not wait for a "second opinion" from your own eyes
-
Resume the sweep from the tile you were on, not from the top-left, to avoid biasing your attention to the start of the grid
Co-Op Role Split (Up to 8 Players)
Anomaly Detected supports up to 8 players per shift, and the game is significantly easier with a coordinated team because the camera feed grid stretches across 12 tiles per floor, meaning a solo or duo crew physically cannot cycle through every monitor fast enough to catch an anomaly spawn before its 2.5-second confirmation window closes. The standard co-op split is to assign each player a subset of tiles so that scan overlap, not reaction speed, becomes the primary detection method:
| Role | Tiles Covered | Best For |
|---|---|---|
| Interior Lead | Living room, kitchen, bedroom, hallway | Players with strong visual scanning |
| Exterior Lead | Parking lot, street view, porch, driveway | Players who handle contrast well |
| Specialist | One specific high-risk tile (e.g. school stairwell) | Experienced players with chapter knowledge |
| Sweeper | Rotates across all tiles to back up reports | New players still learning the spawn patterns |
In an 8-player shift, the team can cover all tiles in parallel, which effectively eliminates soft blind spots because every tile has a dedicated watcher. Hard blind spots remain, but the indirect-cue method (one player watches the adjacent tile, another watches the blind spot) closes most of those gaps.
Difficulty Scaling and Veteran Mode
Veteran mode increases the anomaly spawn rate, shortens the report timer, and adds decoy anomalies that look like real ones. On veteran, the recommended workflow above still applies, but the dwell time per tile should be cut in half and the report threshold should be lower. Report anything that feels off, because the cost of a false report is small and the cost of a missed report is a permanent shift end.
A useful veteran-mode heuristic is the two-scan rule: if an anomaly is not confirmed within two consecutive scans of the same tile, treat it as clean and move on. Dwelling longer usually means a new anomaly has spawned on a different tile while you were focused elsewhere.
Frequently Asked Questions
How many camera feeds are active in the anomaly detected monitor layout?
The number of active feeds scales with chapter, from 4 in Chapter 1 up to 9 in Chapter 5. Chapter 3 uses a 3×3 grid with one tile disabled, giving 7 active feeds. The full per-chapter breakdown is in the tile table above, and the anomaly detected camera layout reference maps each feed to its physical camera position.
Where should I look first on the anomaly detected camera feeds?
Always start with the high-spawn-rate feed for the current chapter. In Chapter 1 that is the living room, and in Chapter 2 it is the parking lot. A left-to-right, top-to-bottom scan order applied to those priority feeds first reduces the average time-to-detect and is the foundation of every veteran-mode clear.
What are the most common anomaly detected blind spots?
The most common blind spots are the parking lot far corner (Chapter 2), the mall food-court service door (Chapter 5), and the school stairwell landing (Chapter 3). The first two are hard blind spots that the camera cannot fully see, while the stairwell landing is a soft blind spot where low contrast causes most misses.
Does the anomaly detected living room feed have unique anomalies?
Yes, the living room feed has its own anomaly family focused on subtle object swaps, duplicates, removals, and positional shifts. Because the anomalies are small, the living room rewards slow, structured scanning, ideally using a 3×3 mental micro-grid of the room to verify each cell against the previous scan.
Can I pan or zoom the anomaly detected camera feeds?
Camera control is limited in Anomaly Detected. The feeds are fixed-angle, and most cameras do not support zoom or pan. A few higher-chapter cameras allow a small zoom range, which is most useful on the school hall and hospital corridor tiles where far-distance anomalies are common. For the full list of movable cameras, the anomaly detected best vantage point guide covers every camera that can be adjusted in-game.